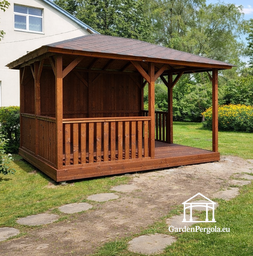
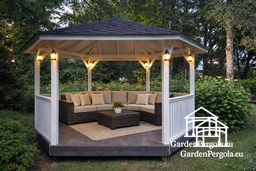
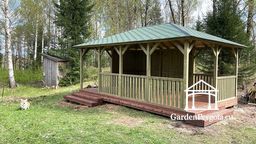
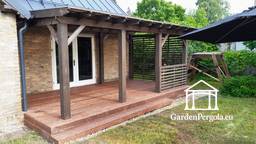
How to Build a Wooden Pergola Yourself
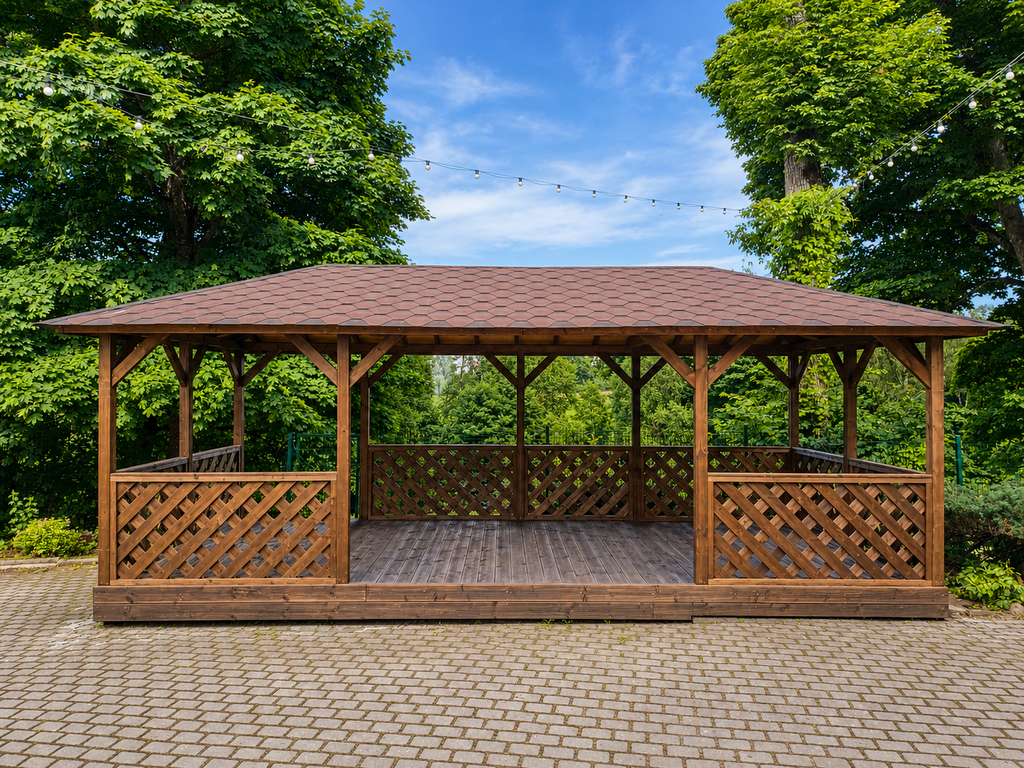
Building a wooden pergola is a rewarding project that can create a comfortable outdoor space for relaxing, dining or spending time with family and friends. A strong result depends on careful planning, suitable timber and a stable foundation.
1. Plan the Pergola
First, decide on the size, location and design. Consider whether the pergola will include:
- an open or covered roof;
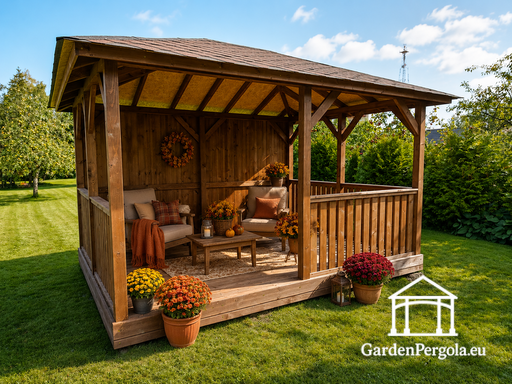
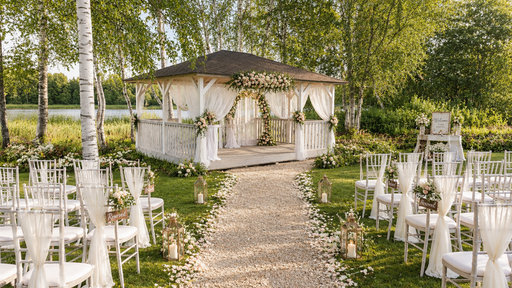
- a wooden floor;
- side railings or walls;
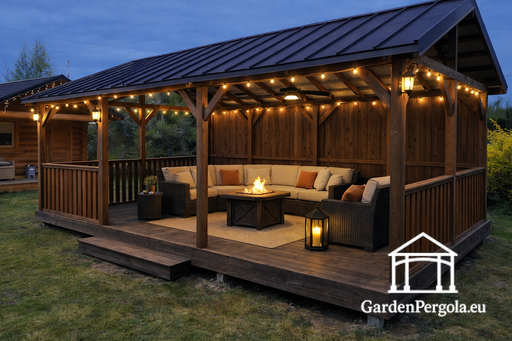
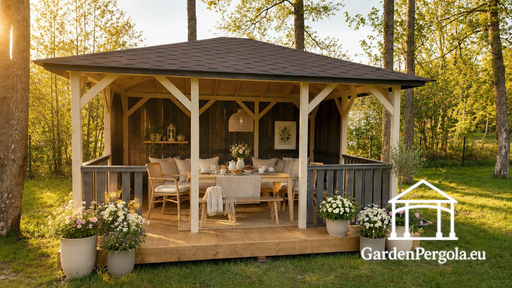
- a dining or lounge area.
Make a simple drawing and mark the position of the support posts, entrances and roof beams.
2. Prepare the Location
Choose a flat area where rainwater does not collect. Clear away grass, roots and loose soil, then prepare a stable base.
A pergola can be installed on:
- concrete footings;
- ground screws;
- paving stones;
- a concrete slab;
- a prepared gravel surface;
- an existing terrace.
Measure both diagonals of the marked area. When they are equal, the pergola layout is square.
3. Choose Suitable Timber
Use dry, straight and strong construction timber suitable for outdoor use.
Garden Pergola structures commonly use:
- 95 × 95 mm timber beams for support posts and the main frame;
- 45 × 95 mm timber beams for the roof and additional framing;
- 145 × 28 mm terrace boards for the wooden floor.
All visible wooden parts should be planed and smooth. This creates a cleaner finish and makes the surface easier to paint and maintain.
4. Protect the Wood
Treat the timber before assembly whenever possible. Use protective exterior paint, stain or wood preservative suitable for changing weather conditions.
Pay special attention to:
- freshly cut ends;
- joints and screw holes;
- post bottoms;
- floor beams close to the ground;
- horizontal surfaces where water may remain.
Allow the coating to dry fully before assembling the structure.
5. Install the Posts and Frame
Secure the 95 × 95 mm posts in suitable metal anchors. Check every post with a spirit level and use temporary diagonal supports to hold them in position.
Connect the posts with the main horizontal beams. Measure the diagonals again and make sure the entire structure is straight and level.
Add permanent diagonal braces between the posts and upper frame. These improve stability and create the traditional appearance of a wooden pergola.
6. Build the Roof
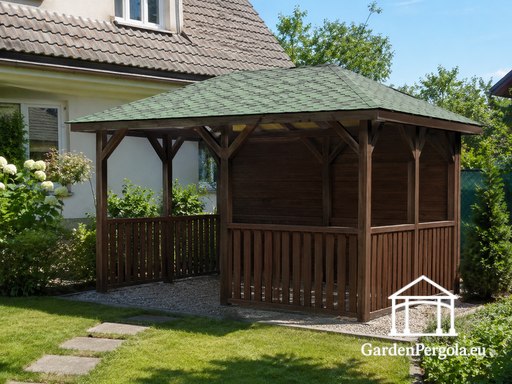
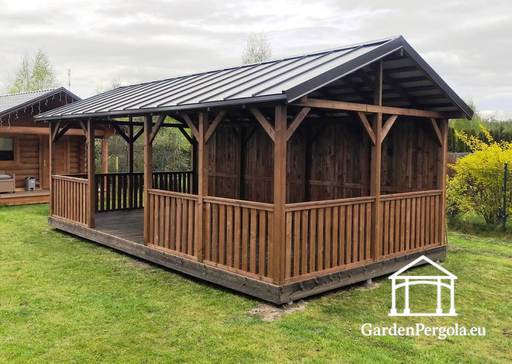
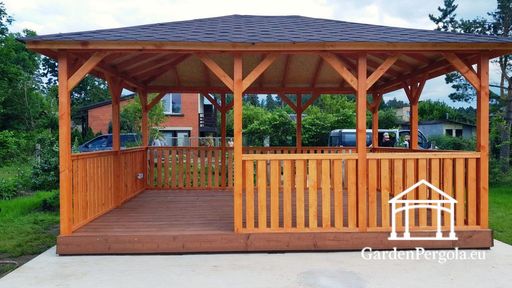
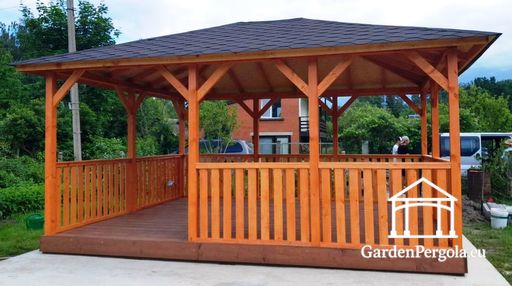
For an open pergola roof, install 45 × 95 mm beams at equal distances across the upper frame. The open roof provides partial shade and can support climbing plants or fabric panels.
For greater weather protection, the pergola can be completed with:
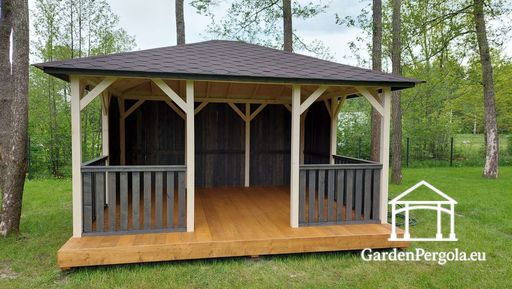
- shingles;
- metal roofing;
- polycarbonate panels;
- a single-pitched, gable or hipped roof.
A covered roof must have a sufficient slope so that rainwater can drain away. Follow the roofing manufacturer’s instructions for membranes, overlaps and fasteners.
7. Add the Floor
A wooden floor is optional. A pergola without a floor can stand above paving, gravel, concrete or another prepared surface.
For a wooden terrace, construct a stable floor frame using 95 × 95 mm and 45 × 95 mm beams. Install 145 × 28 mm terrace boards with small, even gaps between them for drainage and ventilation.
8. Finish and Maintain the Pergola
After assembly, protect all cut and drilled areas with an additional coat of outdoor wood treatment. Check that all screws, bolts and anchors are securely tightened.
Once a year, inspect the roof, post anchors, floor boards and painted surfaces. Clean away dirt and leaves, and repaint worn areas when necessary.
With a properly prepared foundation, smooth planed timber, strong structural beams and suitable outdoor protection, you can build a durable wooden pergola that will add comfort and character to your garden for many years.